Explore Manager Deployment Options
The AppLife Cloud solution provides a turn-key custom software management system, enabling deployment and maintenance of your software that targets the Windows operating system. On your deployed clients, the AppLife Manager provides the significant task of orchestrating the discovery, download and execution of AppLife packages. In this post we’ll dive into AppLife Manager, looking at it’s options and features.
Visual Branding
AppLife Manager is a Windows Service that performs most of it’s work behind the scenes. Your users won’t often interact with Manager at all, but when they do we want them to know what they are interacting with. Namely your software and your company. AppLife Manager sits in the System Tray and pops up messages from time to time.
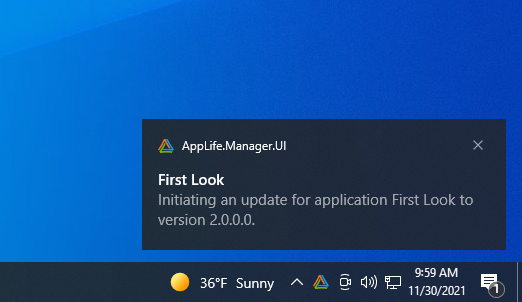
When the user does open the AppLife Manager user interface, there are options to adorn it with your company and your application visuals.
Publisher Settings
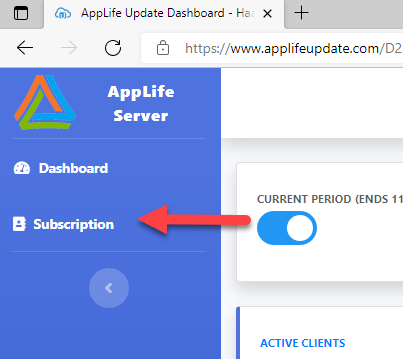
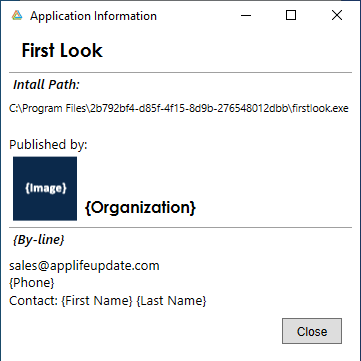
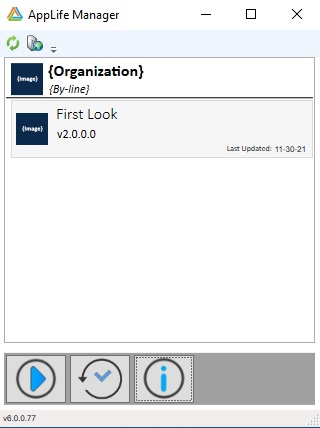
Your AppLife Subscription has settings that determine how your AppLife Manager header looks, as well as what is shown on the information form within AppLife Manager.
- Organization
- By-line
- Publisher Image
- First Name
- Last Name
- Phone
By settings these values, your company information is displayed to the Applife Manager user.
Application Settings
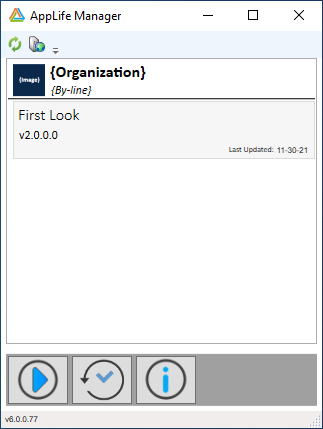
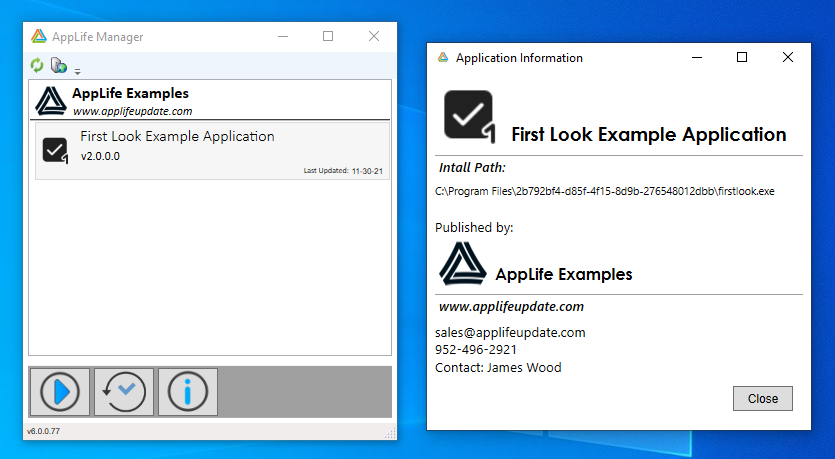
For each application you can define a name and an image. We’ve already set the name of the application to First Look in the last post, where we created and published an installer for the application. You can also set an image setting that can be defined in the application properties view.
Putting this together, by changing a few properties in the AppLife Dashboard, we can transform the visual representation of our company and our applications within AppLife Manager.
Application Behavior
The behavior of AppLife Manager applications is customizable as well.
- How often does an application check for new packages?
- What happens when a new package is discovered. Apply automatically or prompt a user?
- Restrict applying packages to off-peak times?
These behavior settings can be set globally for all clients, or you can allow these settings to be modified locally. Or, you can allow only specific clients to modify locally.
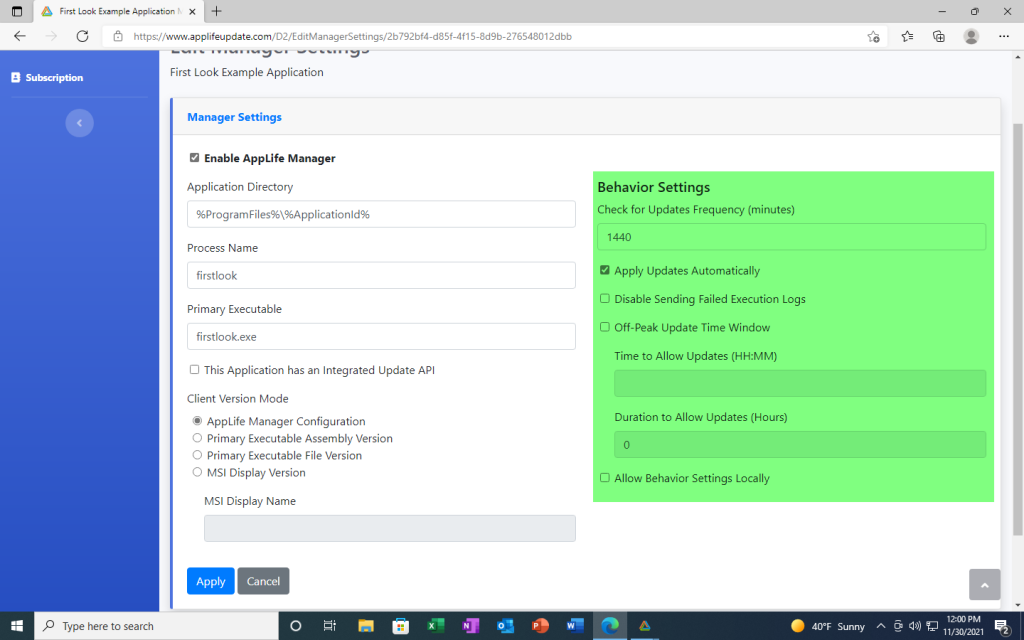
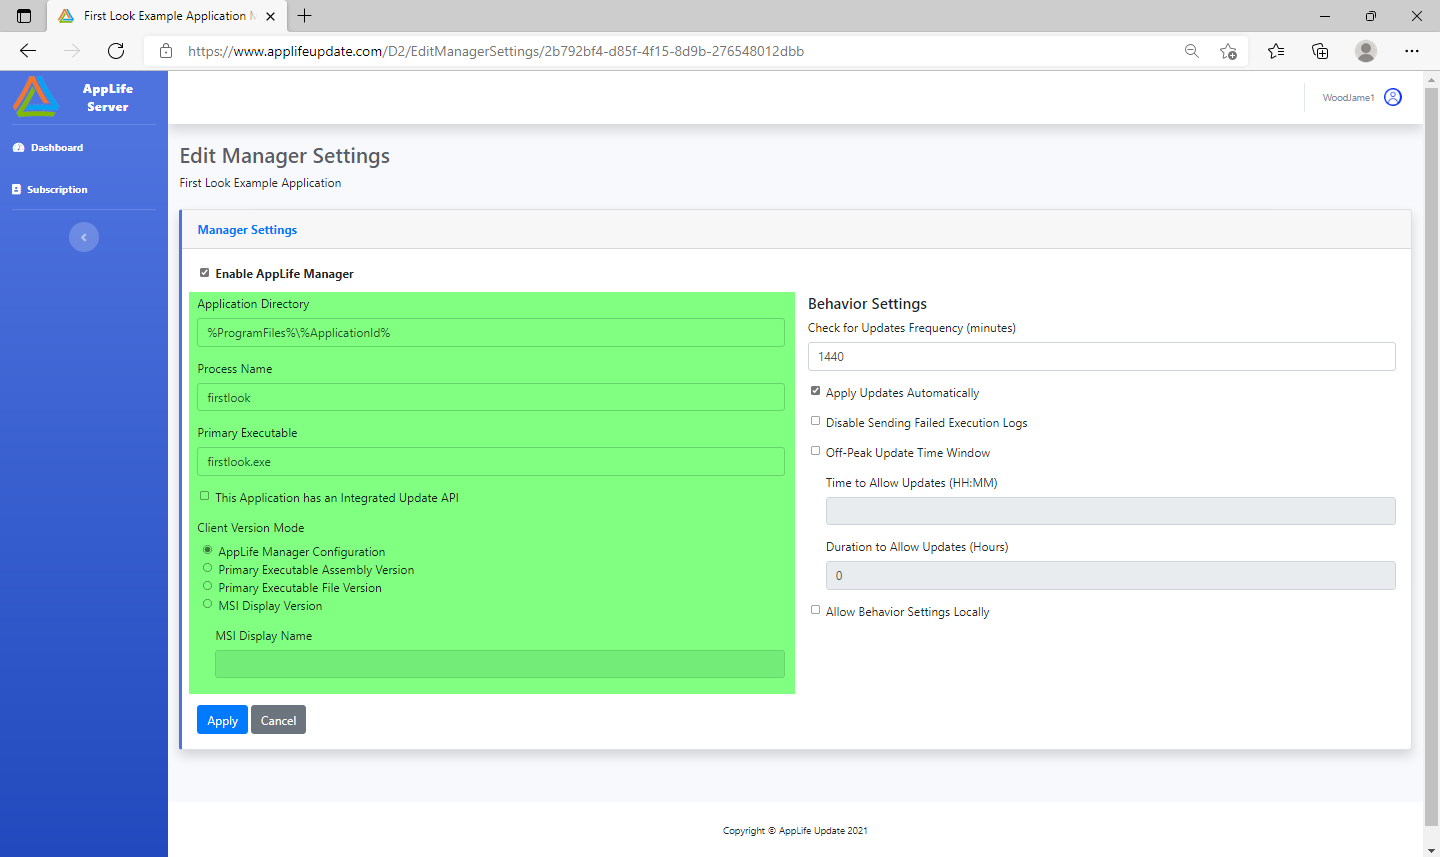
Check for Updates Frequency – Sets the number of minutes between checks. The default is 1440 (once a day), and can be set as low as every 5 minutes.
Apply Updates Automatically – When checked, updates will be applied automatically. If the application is running at the time of initiation, a prompt will be presented to any logged in user that is running the application. If any decline the update, it is postponed. If the application is not running, the update is applied immediately, unless an Off-Peak Time Windows is defined and the current time is not in the time window. In this case, the update is postponed until the start of the off-peak time window.
Disable Sending Failed Execution Logs – When an update fails, the execution log is posted back to the AppLife Cloud for troubleshooting and can be viewed in the dashboard. This post can be disabled.
Off-Peak Updating Time Window – It’s often advantageous to apply updates during off peak hours so as not to disturb daily operations. You can set a beginning time and number of hours to allow updates to be applied. When set, package installations will be be initiated in that time window. AppLife Manager will still check for, and download packages based on the frequency settings, but will not apply a package outside of your defined time window.
Allow Behavior Settings Locally – Checking this option allows local users to define their own application behaviors.
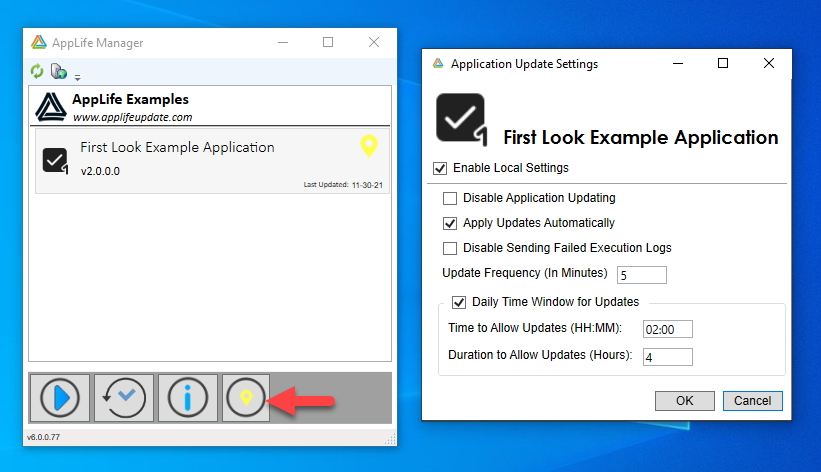
The example above shows a local setting that overrides the update frequency to check every 5 minutes and sets a daily off-peak time window from 02:00 AM to 06:00 AM.
Note the Disable Application Updating option available in the local settings window. When local settings are enabled, users can disable updating completely on their machine. Also note that local settings are application specific, so local settings can be allowed on one subscription application, but not others.
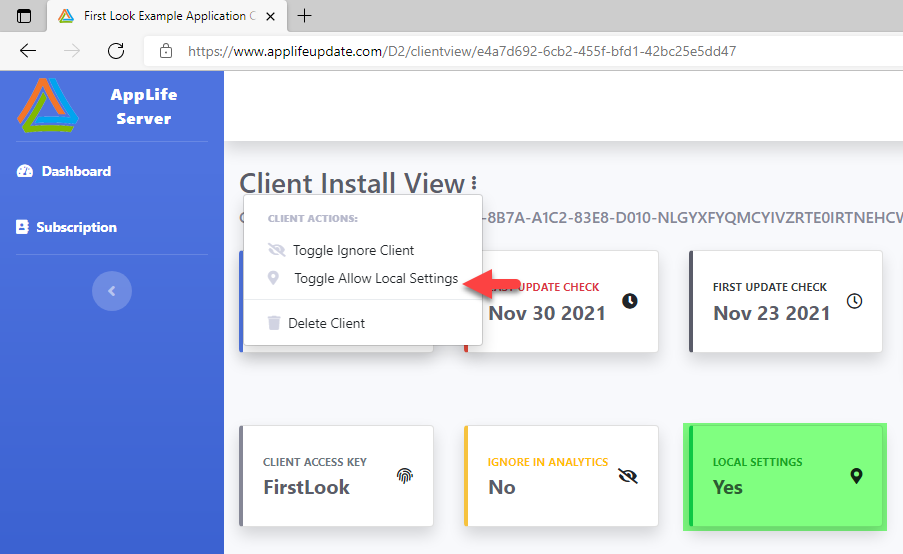
Allow Local Settings on Specific Clients
In circumstances where overriding application behavior isn’t desirable for every client, this setting can be toggled for specific clients through the AppLife Dashboard Client View.
Installation and Process Settings
Beyond behavior settings, there are settings that affect the installation and operation of an application within AppLife Manager.
- Application Directory
- Process Name
- Primary Executable
- This Application has an integrated Update API
- Client Version Mode
Application Directory – Defines the directory on the local client that will be used as the application’s directory. Actions within AppLife Packages can target this directory for file placement. Windows environment path variables can be used in this setting. The default value is %ProgramFiles%\%ApplicationId%.
* – * is a special value in the application directory settings and can be used in coordination with an AppLife Action that will set the application directory during a package execution. The action will search specified directories for a designated executable and use the discovered directory, or use a defined directory if the executable is not found. In the scenario where an application is already deployed, but you would like to start using AppLife Manager to maintain existing installations, you can use an AppLife Action to set the Application Directory to the discovered existing installation directory.
Process Name – The defined process name is the process that AppLife Manager looks for to determine if the application is running. This value is usually in coordination with the Primary Executable, and is defaulted based on the defined Primary Executable, but it does not have to be. It can be set independently.
Primary Executable – The primary executable is used for multiple functions. It is used by the Start button in AppLife Manager. It can be used to determine the current version of the application that is installed, and it’s used to re-launch the application if it was running when the package installation started. One caveat is when Windows Services are being maintained. In this case Manager does not shutdown or restart directly. Instead you will need to use Update Actions in your package, which use the Windows Service Manager to stop and subsequently restart your Windows Service processes.
Integrated API – When an update controller is integrated into the application being maintained by AppLife Manager, the inter-process communications that occur between controllers will initiate the shutdown of the application being maintained. Events are triggered that you can integrate with and use to perform customized tasks within your application code during the update process. Integration is not necessary for AppLife Manager to maintain your applications, but the integration hook is available for advanced or more technically challenging scenarios.
Client Version Mode – An important determination in the software maintenance process is identifying what version is actually installed on the deployed client. The simplest method to use is to let AppLife Manager maintain this value for you. This is the default method. The local version is based entirely on the version stamp of the last update package installed. No explicit action is necessary to use this versioning mode. You have additional options which might be better suited for your applications. You can use the configured primary executable’s assembly version or file version. This is advantageous when you start maintaining an application that was previously deployed. Another option is to use the MSI display version. This is best suited for applications that are using AppLife Manager solely for deploying and initiating Windows Installer packages. In this case, AppLife Manager can use the Windows Installer display version, which is maintained by the MSI process itself, to determine the locally installed version of the application.
Summary
Using AppLife you can easily deploy and maintain one or more applications over your fleet of Windows based client systems. In this post, we reviewed many of the options available to you, out of the box, when you use AppLife Manager on deployed systems. With no source code integration whatsoever, AppLife Manager can completely automate your maintenance processes. In the next post, we’ll explore what can be accomplished by the AppLife Engine during the execution of AppLife packages, whether discovered and initiated by AppLife Manager or through a direct integration with your application source code using the AppLife API.