Application Master Passcode
When a deployed application discovers and downloads an AppLife package, the first action taken is a verification of the package using the Public Key value that is already present on the client and the update package signature that comes with the package. Digital signature validation using asynchronous cryptology. If the downloaded update package fails validation, it is never loaded or executed. There are many reasons why a downloaded update package might fail validation, but whatever the reason, a failed validation means that the update package is not identical to the package that was built and published by the author.
Validation ensures that the package that is about to be applied on a deployed client is the exact package that was created and published. The validity of the authentication process performed by AppLife is completely dependent on the sanctity of the project’s private key. This validation process ensures that it is not possible for a third party to create a package that could ever be applied through your software.
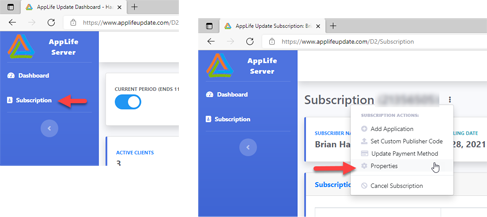
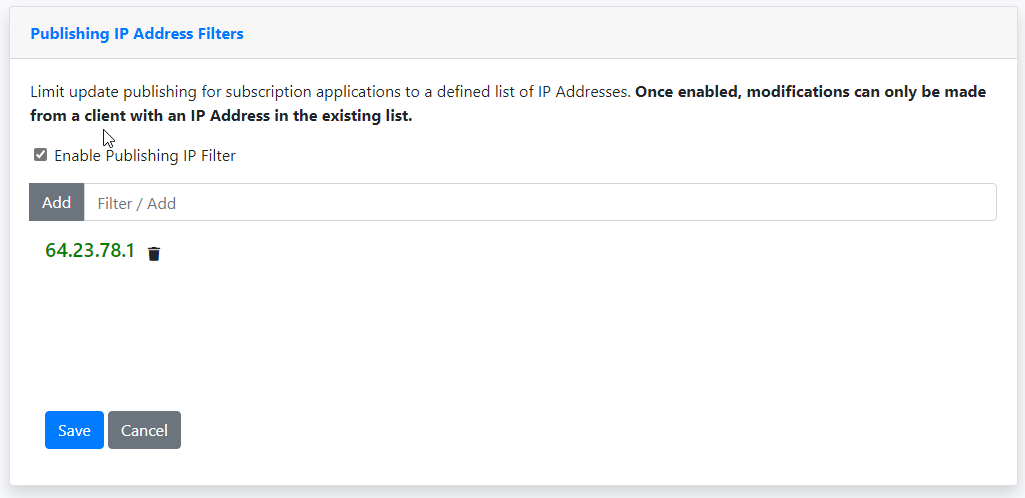
So if your AppLife Cloud account was compromised, would your application private keys be at risk? Yes they would, and this could potentially lead to a third party having the ability publish a privileged update package that your deployed clients would apply. Securing your AppLife Cloud account through strong passwords, two-factor authentication, and Publishing IP Address Filtering significantly reduces the probability of a compromised account. Beyond these, another action that can be taken to secure your deployed clients is to implement a Master Passcode on your individual applications.

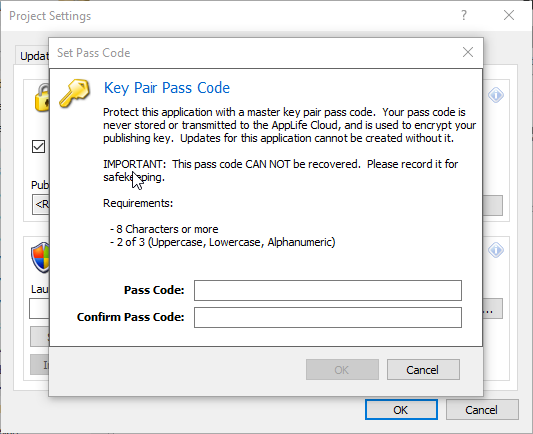
A master passcode is added to your application locally through AppLife Builder. Navigate to your project settings dialog and open the Security tab. When a master passcode is provided, AppLife Builder uses the code to encrypt the application keypair before transmitting application data to the AppLife Cloud. The master pass code is never transmitted and only stored locally if elected to be.
If a unique passcode is applied to your application, the passcode is never transmitted and an update for the application can never be created without it.
A master passcode provides maximum protection against a compromised AppLife Cloud account, as a final secret that is required but never shared. With this protection comes the reality that a master passcode can never be recovered if forgotten. If a master passcode is forgotten, your deployed clients are forever disconnected from the remote update capabilities provided by AppLife.
For maximum protection from your update process ever being used to compromise your deployed clients, choose and implement a unique strong master passcode.


